
Wednesday, July 16, 2025
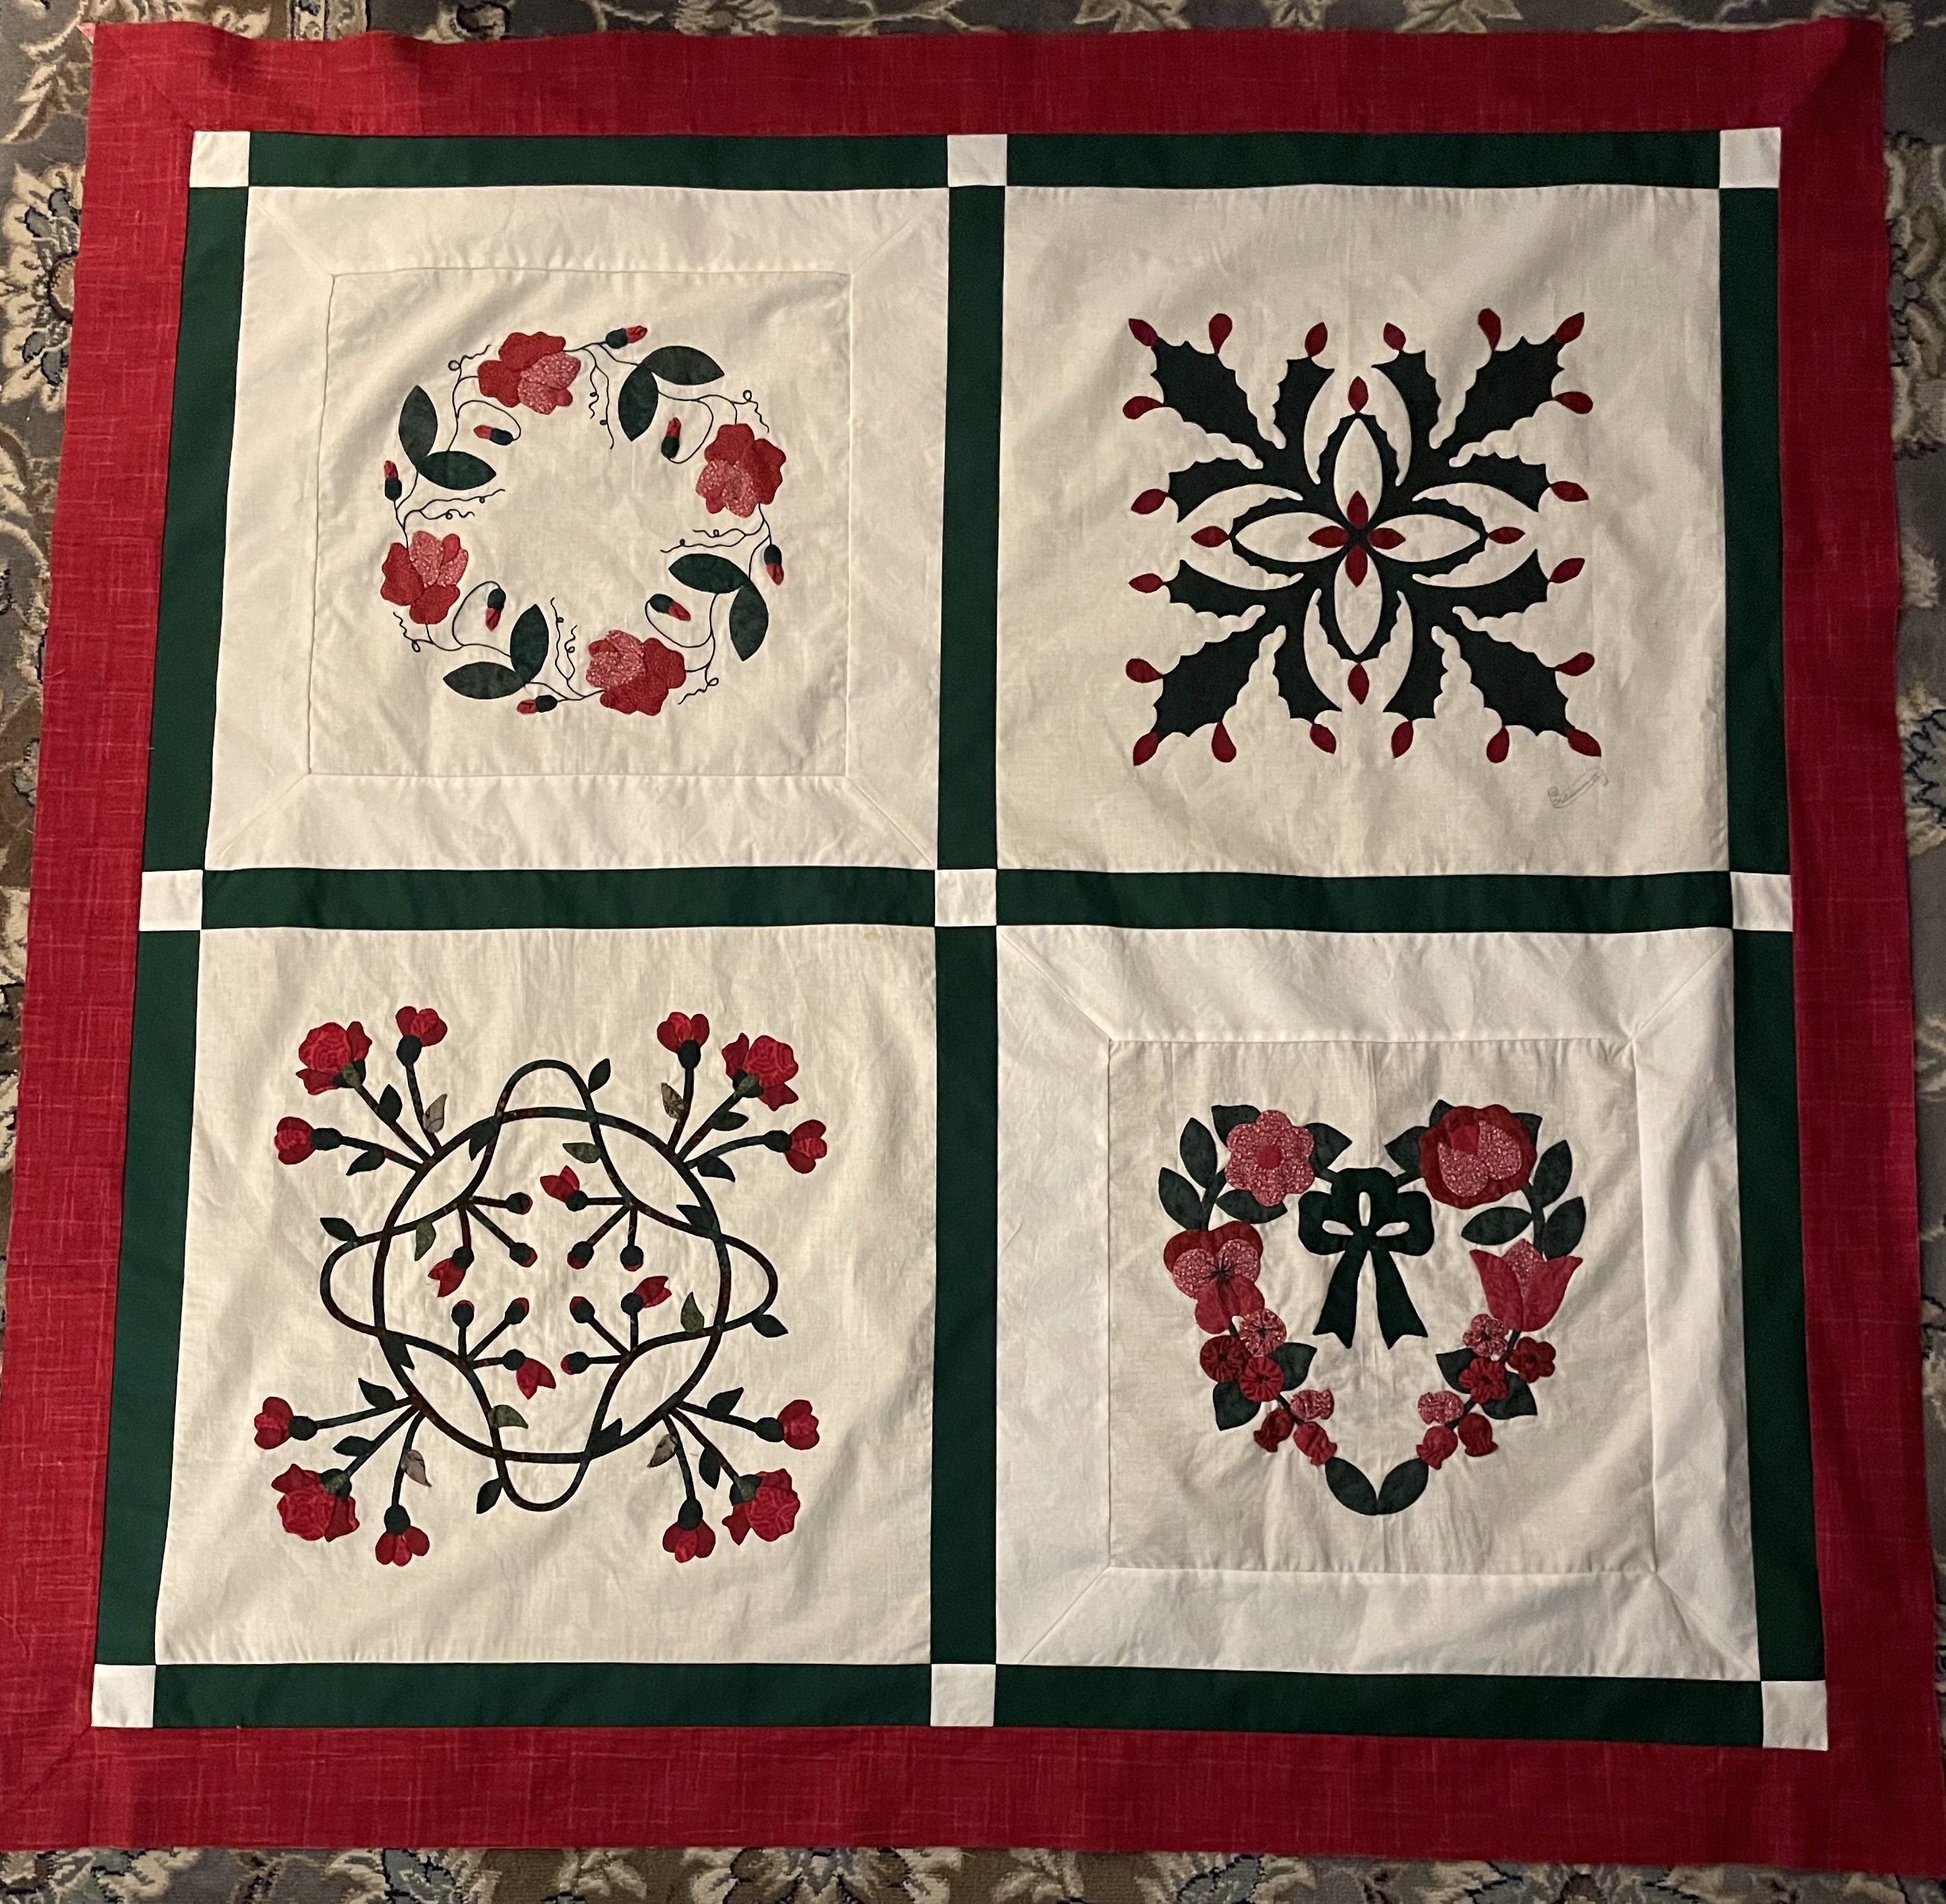
Christmas In July - Really
I started a Christmas Wallhanging with hand appliquéd blocks from the 1990's. My friend and I decided to make blocks for each other and I had these just sitting around so I thought I would make something out of them. they sat in the UFO box for quite a while. I love how it is coming out too!

Friday, June 26, 2020
Finishing up some and working on new piece
Well I’m busy and seem to have flowers on the brain. I’ve finished three small pieces with blue flowers, now I am starting a red lily. It is a fused piece with appliqué stems. Next up is to cut the batting and backing, then baste and ready to quilt!
Here’s the last blue flowered on and then the red lily.

 You can see more creative work at Off the Wall Fridays
Here’s the last blue flowered on and then the red lily.


Saturday, May 23, 2020
Olde UFO and newer work
I looked into my UFO box to see what I had and came up with cut triangles and four blocks, so I made more to create a runner for my sideboard. Problem with that is I don’t have any fabric for the binding.


I also have a new WIP that I like quite a bit - that blue!

You can see other work at Off the Wall Fridays
Friday, May 8, 2020
Iris wall hanging
This week I made a small wall hanging of an iris quilt. I fused the iris and the leaves and then made a sandwich and proceeded to be puzzled by what type of quilting to do on it. Eventually i got a brainstorm and quilted it from the back following the pattern of the motifs there. I’m pretty happy with how it looks.
 You can see more creative work at Off the Wall Fridays

Friday, May 1, 2020
A Lily
This week I made a lily that has thread painting in the center and some fabric paint to highlight the center making it a bit darker than the original color of the fabric. I seem to be making something once a week and drawing the work out so I can do it in the mornings.
 There are more creative pieces to see at Off the Wall Fridays

Thursday, April 23, 2020
Bloodroot
I thought I would make a small bloodroot quilt/wall hanging. It is fused then quilted all over with various quilting in the different areas. I have a little bit of hesitation in making work with raw edges but I think I’ll get over it, maybe 😂
 You can see other nice work at Off the Wall Fridays

Friday, April 17, 2020
Down on the farm
several years ago I stayed at a B&B in Connecticut. This was a scene from my window and I’ve always loved it. It’s a small piece 10 x 10 or so. I fused the buildings, thread painted the tree and did some felted and embroidery for the sheep


There are more interesting and fun pieces at Off the Wall Fridays
Friday, April 3, 2020
Thread painting a tree
This week I started a new thread painting of a tree and it’s roots. I’m working on the forest floor right now and only have my second layer finished. I will move onto several other colors to complete it and will probably be finished in a couple of days. Working on things like this keeps me happy and fulfills my creative muse.
 You can see more great work at Off The Wall Fridays
There’s the tree with the forest floor finished, well, not quite finished. I did work on it a bit more and added a couple of more colors to the floor, added some leaves to the tree that’s behind and the small one to the right.


There’s the tree with the forest floor finished, well, not quite finished. I did work on it a bit more and added a couple of more colors to the floor, added some leaves to the tree that’s behind and the small one to the right.

Sunday, March 29, 2020
Finished!
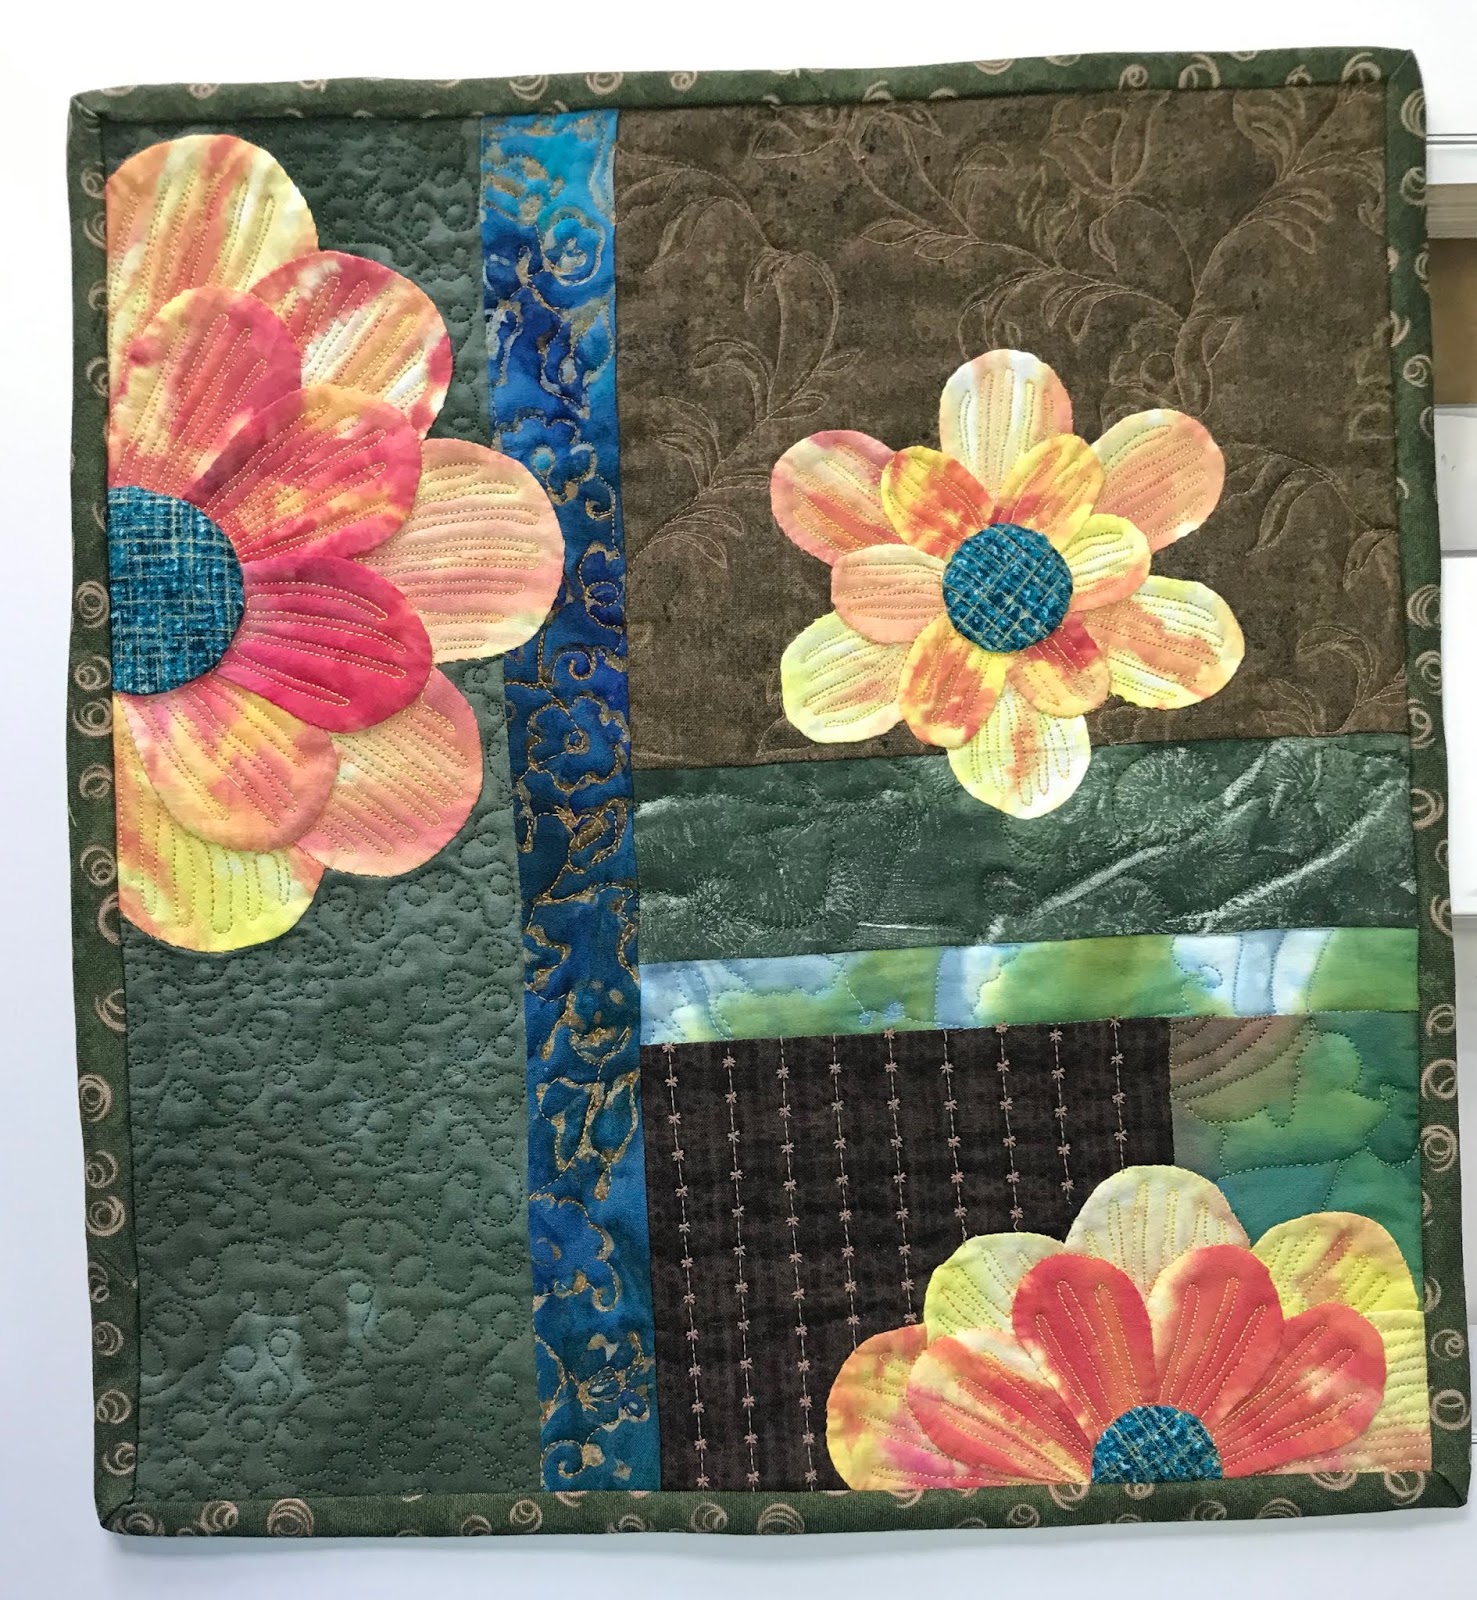
So I finished the quilting and put a green binding on it. Now I’m at a loss as to what to do. Should I make another of the same type, start a thread painting garden scene, work on some rock wall and garden stuff. Ive got other ideas but none are what I want to do. Just whining. So here’s the finished little quilted wall hanging.

Friday, March 27, 2020
Starting the quilting
So now I’ve been quilting it! I’ve used a variegated thread on the flower petals and color coordinated on the parts I’ve quilted so far. I started using a foot for quilting but ended up taking the foot off and following the brown design that way. It’s a little different but I got used to it.
 You can see many creative quilts/work at http://ninamariesayre.blogspot.com/ off the wall Friday’s

Wednesday, March 25, 2020
Home bound
During this time it leaves plenty of day to work on various projects. I started this piece with a completely different thought process. It evolved to doing hand work on the flowers and I didn’t want it to look like Dresden plate, but it does. So now I’m at the quilting stage and some of the areas allude me as to what to do there. I will continue working on it until it is done, then probably post it again.


Saturday, February 29, 2020
Bonsai thread painting finished
Well I had the moss and pot to finish yesterday and here it is!


I did some sewing around the top of the pot but used a piece of fabric fused on for the body of the pot. Now onto my next tree, choosing which design, hmmmm.
Check out these other great blogs at http://ninamariesayre.blogspot.com/
Friday, February 28, 2020
Art and creativity evolves
It’s been 4 years and I have entered another phase of making art. I found this book and it had an intriguing way of using the sewing machine to create. Ive been working this way for the past year and enjoy the challenge. It’s called machine embroidered designs. So I’m not using any computer controlled machine it is done with a hoop and colored thread and some would call it thread painting.
 This is the one I’m working on today. I’m enjoying this one. It will be about 3 - 4 inches tall when done.

Friday, January 15, 2016
Carol's Pun - Poetry - Poet-Tree
In the beginning when the word was chosen I was completely
stumped. I started thinking about it
and came up with poetry, which translated to Poet-Tree.
I copied a small picture that was my inspiration (it was
about 3”) and used my enlarger to obviously enlarge it! I started out with a
white piece of fabric and used fabric paints and Inktense sticks, not the
pencils, to create my wood tree. I also used some masking for the

I then got another piece of fabric and painted his
background. I attached him to the background and stuffed him a little so he
would have a small belly.
I then sewed him down and added more

 quilting and fancy stitching, etc. His right hand and
book were added last. The book cover is a small piece of silk and the pages are white cotton. I wrote the poem Trees by Joyce Kilmer in his little
book, of course.
quilting and fancy stitching, etc. His right hand and
book were added last. The book cover is a small piece of silk and the pages are white cotton. I wrote the poem Trees by Joyce Kilmer in his little
book, of course.Tuesday, May 26, 2015
The Unveiling
I have been working on a piece for my youngest son's wedding, which is this Saturday the 30th.
I took two photos and combined them to make this. My friend made me a silkscreen of the two of them,which came out fabulous. I colored and stitched them separately and then cut them out to apply on the background and did a lot of stitching, which was fun. I also put in a blue bird of happiness :)
So this is Mike & Renee starting the walk down the road of life together.

And the unveiling

I took two photos and combined them to make this. My friend made me a silkscreen of the two of them,which came out fabulous. I colored and stitched them separately and then cut them out to apply on the background and did a lot of stitching, which was fun. I also put in a blue bird of happiness :)
So this is Mike & Renee starting the walk down the road of life together.

And the unveiling

Wednesday, April 15, 2015
Neighbor - Google Earth View
We live in a bit of a rural area – not many neighbors, so I
thought it would be fun to do a Google Earth view of a neighborhood. My house
is included in this view, left hand bottom corner, but most of the neighbors
are those who I hold dear in my heart, rather than those who actually live near
me.
I started with a background fabric that gave a forest feel.
Then I used Misty Fuse to add some roads. I then used some of my fusing scraps
to make the little houses, some with pools, and used fabric paint to create
trees. All the houses needed roofs and chimneys. I had fun creating my
neighborhood. Stitching all around the houses and roads added a bit of separation from the background fabric.
I hope one of the houses looks like yours, for you are a
neighbor.
Hop on over to Material Mavens for more of the Neighbor Theme quits.

Wednesday, December 10, 2014
Hot off the Press.....or sewing machine!
I have been working behind the scenes doing all kinds of stuff, but not producing anything in large quantities. I just finished two pieces for the next exhibit at LNHC Gallery Headquarters in January, entitled "Blue, The Sky's The Limit."
 The first is Tiny Blue Visitor - a little bird picture I have had for a long time. I used my new-to-me enlarger to make the bird bigger than 1", which he was in the photo I have. I think it came out really cute.
The second is another good picture of what I call Blue Time, My Secret Garden which is the time the sun has set and it is almost dark,
 the light reflecting off the snow turns everything blue. One of my favorite times of the winter day. This is a view from my kitchen window, with a secret garden out back.
Both pieces have painted backgrounds. I had a lot of creative fun with these too. :)
The second is another good picture of what I call Blue Time, My Secret Garden which is the time the sun has set and it is almost dark,
the light reflecting off the snow turns everything blue. One of my favorite times of the winter day. This is a view from my kitchen window, with a secret garden out back.Both pieces have painted backgrounds. I had a lot of creative fun with these too. :)
Wednesday, October 15, 2014
It's Reveal day again! CONTRAST is the word.
This is my rendition of Contrast. I chose the word, then I
did what everyone else in this group probably does, just go blank and scratch
my head in puzzlement. What am I going to make?

First I asked permission to use a photo she had which was a
gift for a friend - well she is an adult and I didn’t just want to take her
photo without permission.
Then I did some photoshop stuff with it, like change it to
“posterized” which gives me about six colors to choose from, rather than look
at the subject/colors all at once. It broke the tones up so I could see where
to make transitions.
Because the original pic was square, I had to get this
enlarged somehow, so I used the copier at work and did it in sections. (Since
then a friend has given me an enlarger!)
I then outlined the sections and used a black magic marker
to divide up the colors, and then numbered them. Luckily for me, I found a
person who does fabric dying in all the shades I was looking for (skin tones)
at the Mancuso show in August.
The piece is not sewn, but fused, and I framed it as well. I thought it would look better this way. I
did try some sewing, but it was very distracting and I just wasn’t happy with
it.
Check out more fun work at Off The Wall Friday!
Check out more fun work at Off The Wall Friday!
Monday, September 29, 2014
Searles Guard Tower
I always feel as though I am continuing a conversation when I come back here to write about what I am or have been working on recently.
Today I started a hat that has been waiting for a year. Just for winter, but you will get to see that eventually as right now it is drying and not very interesting as all.

So back to the guard tower. I finished it and am quite pleased with how it came out. My first "draft" of it had the top where you couldn't see through like you can in real life because of the angle I had created. Fixed that and then went onto other things to do to it.
It was a fun and interesting project and once the frame for it comes, then it will be really, really complete.
It has a printed and painted background.
I have also been working on my Material Mavens piece that is due to be revealed on October 15th!
Today I started a hat that has been waiting for a year. Just for winter, but you will get to see that eventually as right now it is drying and not very interesting as all.
So back to the guard tower. I finished it and am quite pleased with how it came out. My first "draft" of it had the top where you couldn't see through like you can in real life because of the angle I had created. Fixed that and then went onto other things to do to it.
It was a fun and interesting project and once the frame for it comes, then it will be really, really complete.
It has a printed and painted background.
I have also been working on my Material Mavens piece that is due to be revealed on October 15th!
Friday, August 29, 2014
Searles Guard House Progress
It has been about a week since I have been playing around with this and have a few changes that I think has improved the piece, considerably.

I made the top parts so you can see through them, which helps lighten it. Then I put some walls up that angle away from the tower. Now I need to figure out how to make this look like it does (massive) in person.
I made the top parts so you can see through them, which helps lighten it. Then I put some walls up that angle away from the tower. Now I need to figure out how to make this look like it does (massive) in person.
Subscribe to:
Posts (Atom)